To replace the screen on an HP Envy, you can follow these simple steps. First, gather the necessary tools and a replacement screen.
Then, carefully remove the old screen and install the new one, ensuring all connections are secure. If you’re dealing with a cracked or malfunctioning screen on your HP Envy, you may be considering a replacement. With the right tools and a bit of know-how, replacing the screen on an HP Envy is a manageable task.
In this guide, we’ll walk you through the process, step by step, so you can restore your device to its former glory. Whether you’re a tech-savvy individual or just looking to save some money on repairs, replacing the screen on your HP Envy is a feasible DIY project.
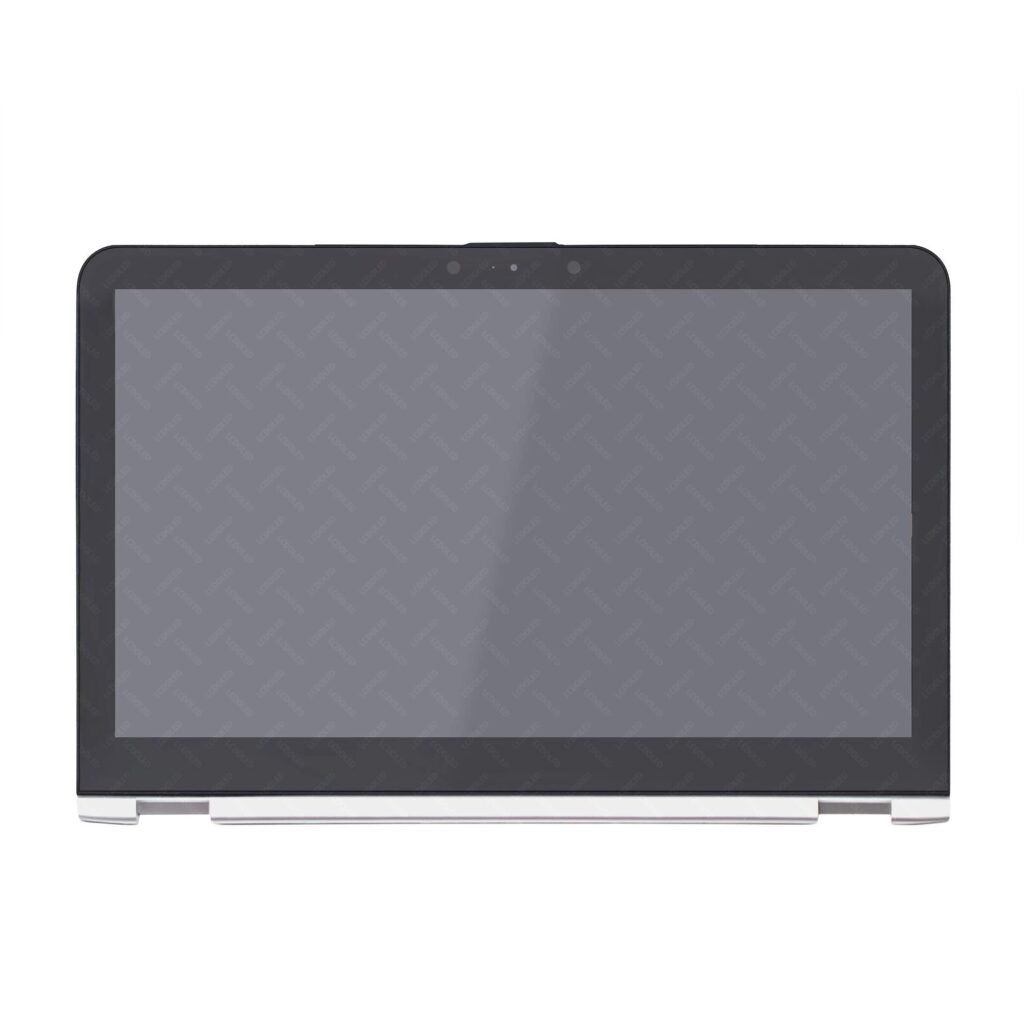
Credit: www.laptopscreen.com
Introduction To HP Envy Screen Issues
Common Problems Leading To Replacement
Cracked screens, flickering displays, and dead pixels are common issues that may necessitate the replacement of the HP Envy laptop screen. These problems can significantly impact the user experience and productivity, making it essential to address them promptly.
Benefits Of A Quick Fix
Addressing screen issues with a quick replacement offers several benefits, including restoring the visual clarity and functionality of the laptop. A quick fix can also prevent further damage and extend the lifespan of the device, ultimately saving time and money.
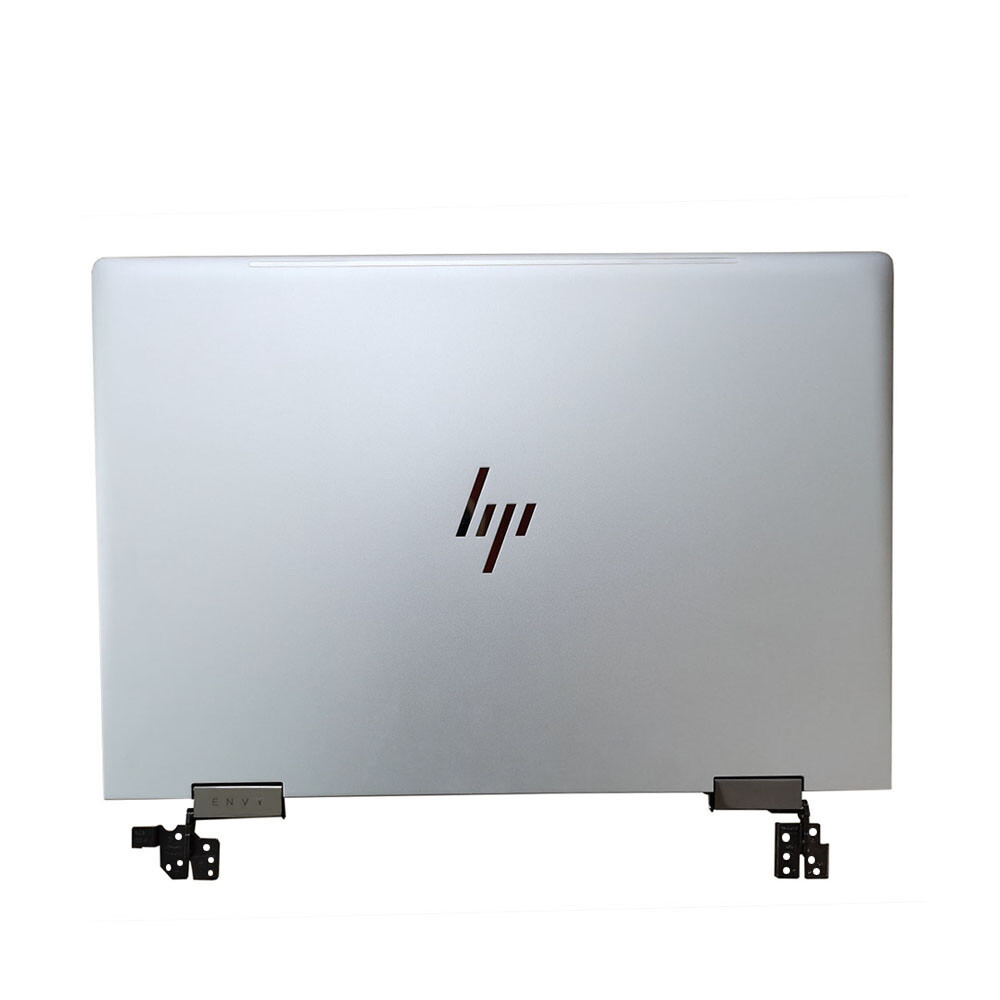
Credit: www.ebay.com
Preparation For Screen Replacement
Prepare for HP Envy screen replacement by gathering necessary tools: screwdriver, opening tools, and replacement screen. Find a well-lit, clean workspace to begin the process. Disconnect the power source, remove the screws, gently pry open the bezel, and swap out the damaged screen with the new one.
Tools And Materials Needed
To replace the screen of your HP Envy, you will need several tools and materials. These include a screwdriver set, spudger or plastic opening tool, replacement screen, and a clean workspace. It is essential to have the correct replacement screen model to avoid compatibility issues. Additionally, ensure that you have the right screwdriver head size to avoid damaging the screws.
Safety Precautions
Before you start replacing the screen, it is crucial to take safety precautions. Turn off your HP Envy and remove the battery to avoid electrical shock. Use an anti-static wrist strap or touch a metal surface to discharge any static electricity on your body. Wear safety goggles to protect your eyes from small debris or broken glass. Also, avoid using excessive force or prying too hard to prevent damaging the internal components of your laptop.
Screen Replacement Process
Here is a step-by-step guide on how to replace your HP Envy screen:
- Remove the screw covers and unscrew the screws holding the bezel in place.
- Use a spudger or plastic opening tool to pry the bezel from the screen gently.
- Unplug the video cable and remove the screws holding the screen in place.
- Remove the damaged screen and replace it with the new one.
- Reattach the video cable and screws to secure the new screen.
- Gently snap the bezel back in place and reattach the screw covers.
In conclusion, preparing for screen replacement involves having the right tools and materials, taking safety precautions, and following a step-by-step guide. By following these steps, you can easily replace your HP Envy screen and have your laptop up and running in no time.
Identifying Your HP Envy Model
To identify your HP Envy model for screen replacement, check the bottom or sides for a sticker with the model number. Alternatively, access the BIOS or use the HP Support Assistant software for model details. Verify compatibility before purchasing a new screen to ensure a proper fit.
Locating The Model Number
Locating your HP Envy model number is crucial for accurate screen replacement.
Why Model Identification Is Crucial
Identifying your HP Envy model ensures compatibility with the replacement screen.

Credit: www.amazon.com
Step-by-step Screen Replacement Process
Replacing the screen on your HP Envy laptop may seem like a daunting task, but with the right guidance and a bit of patience, you can easily restore your device to its former glory. In this guide, we will walk you through the step-by-step process of replacing the screen on your HP Envy laptop, ensuring that you can follow along easily and confidently.
Removing The Old Screen
The first step in the screen replacement process is to carefully remove the old screen from your HP Envy laptop. Follow these steps:
- Power off your laptop and unplug it from any power source.
- Using a small screwdriver, gently remove the screws that secure the bezel around the screen.
- Once the screws are removed, carefully pry off the bezel using a plastic opening tool. Start at one corner and work your way around the screen, releasing the clips that hold it in place.
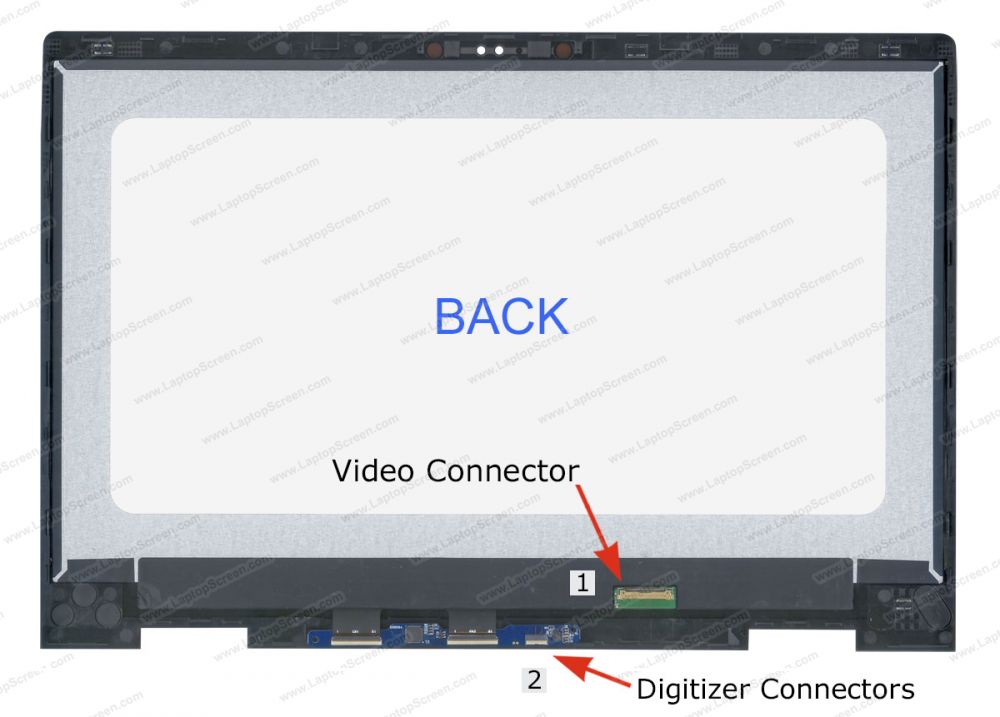
- With the bezel removed, you will now have access to the screen itself. Locate and disconnect the video cable and any other connections that may be attached to the back of the screen.
- Once all connections are detached, remove the old screen from the laptop.
Installing The New Screen
Now that you have successfully removed the old screen, it’s time to install the new one. Follow these steps:
- Take the new screen and carefully align it with the laptop’s frame.
- Reconnect the video cable and any other connections to the back of the new screen.
- Place the bezel back onto the laptop, making sure it fits snugly and aligns with the screw holes.
- Using the small screwdriver, reinsert and tighten the screws to secure the bezel in place.
- Power on your laptop to test the new screen. If everything is working properly, you have successfully installed the new screen!
By following these step-by-step instructions, you can easily replace the screen on your HP Envy laptop and get back to using your device without any issues. Remember to take your time, be gentle with the components, and always double-check your connections to ensure a successful screen replacement.
Post-replacement Checklist
Once you have successfully replaced the screen on your HP Envy laptop, it is essential to go through a post-replacement checklist to ensure everything is functioning properly. Following this checklist will help you avoid any potential issues and ensure that your new screen is working optimally. Let’s dive into the key steps of the checklist:
Ensuring Functionality
The first step in the post-replacement checklist is to ensure that the new screen is functioning correctly. Here’s what you need to do:
- Power on your HP Envy laptop and check if the screen lights up.
- Verify that the display is clear and free from any visual abnormalities such as dead pixels or flickering.
- Test the touchscreen functionality, if applicable, by tapping and swiping on various areas of the screen.
- Adjust the screen brightness and check if it responds accordingly.
- Connect an external monitor to your laptop to confirm that the video output is working properly.
Calibration And Testing
After ensuring the basic functionality of the new screen, it’s time to calibrate and test it for optimal performance. Follow these steps:
- Access the display settings on your HP Envy laptop.
- Adjust the screen resolution to match the native resolution of the new screen.
- Check the color accuracy by displaying various images and videos with different color profiles.
- Test the viewing angles to ensure that the screen remains visible from different positions.
- Run a series of stress tests to check for any abnormalities or performance issues.
Completing this post-replacement checklist will give you confidence in the functionality and performance of your newly replaced HP Envy screen. If you encounter any issues during the process, it is recommended to consult a professional or reach out to HP support for further assistance.
Troubleshooting Common Issues After Replacement
After replacing the screen on your HP Envy laptop, you may encounter some common issues. It’s important to troubleshoot these problems to ensure that your new screen is functioning properly. Here are some troubleshooting tips for common issues that may arise after a screen replacement.
Screen Flickering Or Not Turning On
If you experience screen flickering or the screen not turning on after replacement, check the connections between the display cable and the motherboard. Ensure that the cable is securely connected and not damaged. Additionally, updating the graphics driver may resolve the issue. If the problem persists, it’s recommended to seek professional assistance.
Dealing With Dead Pixels
Dead pixels can be a common issue after a screen replacement. Inspect the screen for any dead pixels and consider using pixel-fixing software if the issue is minor. If the dead pixels are widespread and affecting the usability of the screen, contact the manufacturer or a technician for further assistance.
Frequently Asked Questions
How Much Does It Cost To Replace An HP Envy Screen?
Replacing an HP Envy screen can cost around $100 to $300 depending on the model and service provider.
Can I Replace An HP laptop Screen Myself?
Yes, you can replace a HP laptop screen yourself by following online tutorials and using the right tools.
How Much Does It Cost To Replace The Screen Of Hp Laptop?
The cost to replace the screen of an HP laptop can vary, but it typically ranges from $50 to $200. Prices may differ based on the specific model and where the service is performed. It’s best to get a quote from a certified technician for an accurate estimate.
How Much Does It Cost To Replace The Screen On The Hp Envy X360?
The cost to replace the screen on the HP Envy x360 varies, but it typically ranges from $150 to $300.
Conclusion
Replacing the screen of your HP Envy laptop can be a daunting task, but with the right tools and guidance, it can be done easily. By following the steps outlined you can have your laptop screen replaced in no time.
Don’t let a broken screen hold you back from productivity. With a new screen, you can get back to work or leisure activities with ease. Remember to take your time and be patient throughout the process. Happy repairing!