To pair Airpods Pro, open the case, press the setup button, and follow on-screen instructions. Pairing Airpods Pro is a straightforward process that allows seamless connection with your devices.
The advanced features offered by Airpods Pro enhance the listening experience, making it a popular choice among tech-savvy individuals. By following simple steps, users can easily pair their AirPods Pro and enjoy high-quality audio in any environment. The convenience of wireless technology combined with superior sound quality makes Airpods Pro a leading choice in the market.
Whether you’re on the go or relaxing at home, Airpods Pro deliver a premium listening experience that caters to your lifestyle. Pairing Airpods Pro is a quick and hassle-free task that unlocks a world of immersive audio enjoyment.

Credit: www.thearcmd.org
Getting Started With Airpods Pro
Getting started with Airpods Pro is a simple yet exciting process. Follow these steps to unlock the full potential of your Airpods Pro.
Choosing The Right Device
Before pairing your Airpods Pro, ensure your device is compatible with them. Your Apple device should be running on the latest version of iOS to connect seamlessly.
Charging Your Airpods Pro
Charge your Airpods Pro using the included lightning cable and the charging case. Make sure the Airpods Pro and the case are properly aligned to ensure efficient charging.
Connecting Airpods Pro To Ios Devices
If you’re wondering how to connect your Airpods Pro to your iOS device, look no further. This guide will walk you through the process step by step. Follow along to enjoy a seamless wireless listening experience on your iPhone or iPad.
Preparing Your Ios Device
Before you begin, make sure your iOS device is ready to pair with your Airpods Pro. Here’s what you need to do:
- Ensure that Bluetooth is turned on in your device’s settings.
- Make sure your iOS device is running the latest version of iOS.
- If you have an Apple Watch paired with your iOS device, ensure that Bluetooth is enabled on the watch as well.
Pairing Airpods Pro With Iphone Or Ipad
Now that your iOS device is ready, let’s move on to the pairing process. Follow these simple steps:
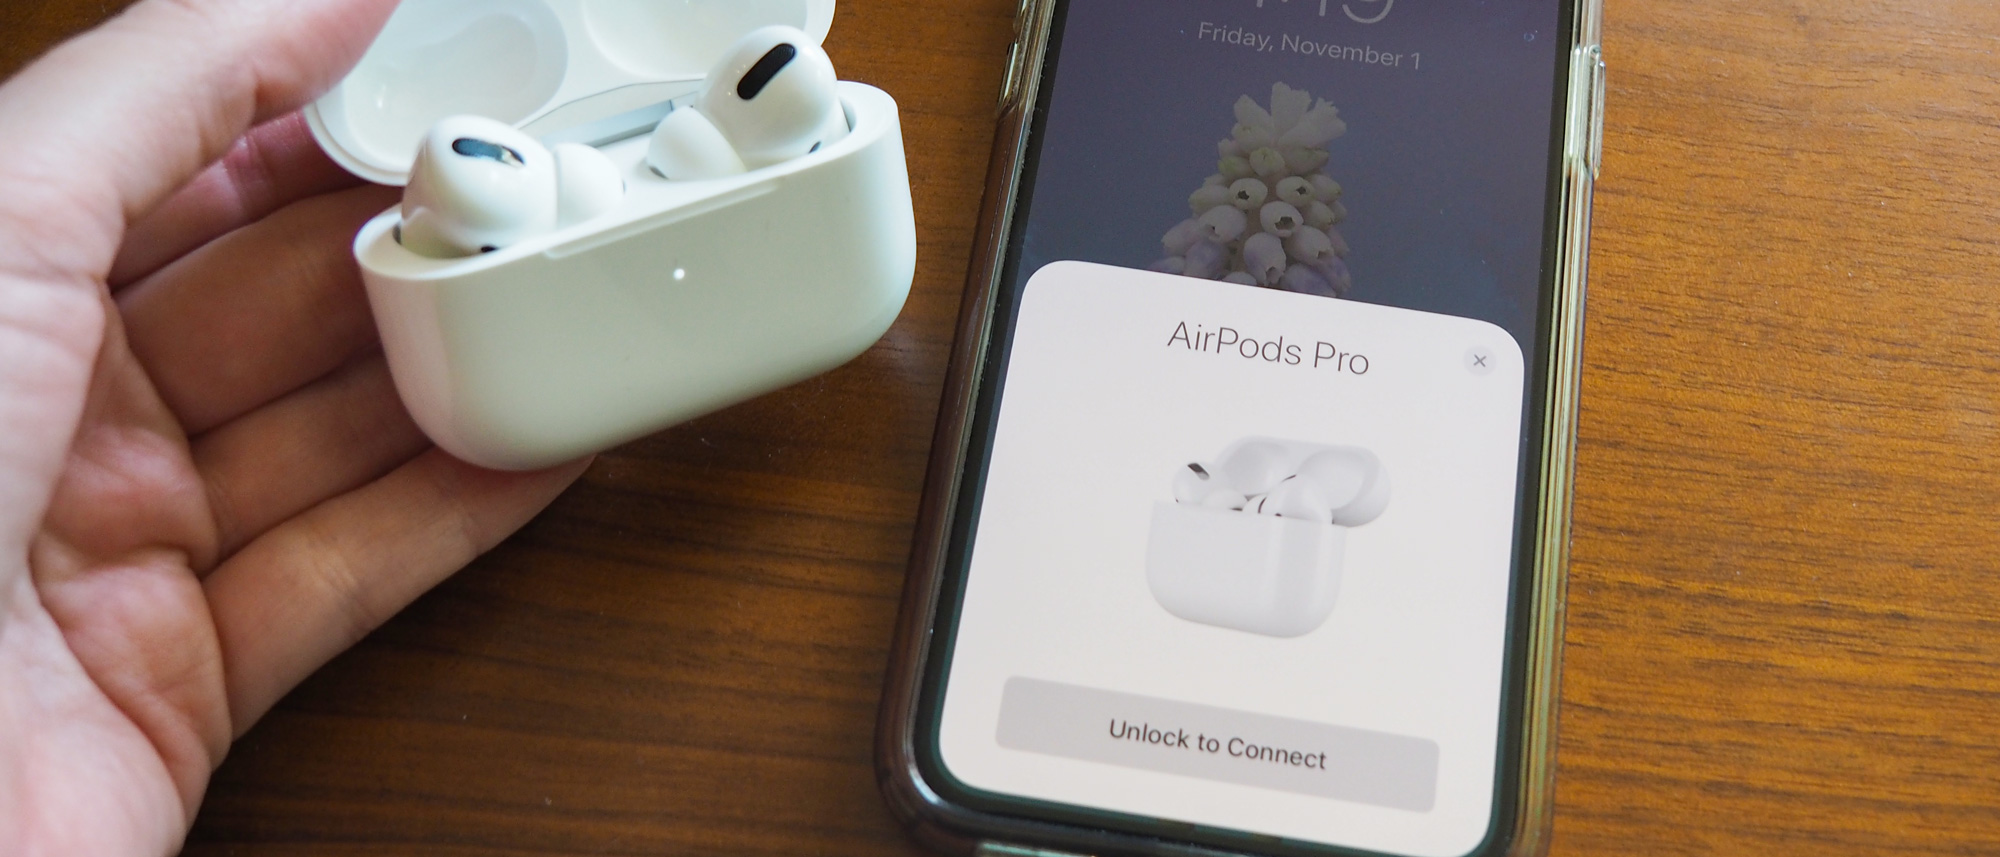
- Open the lid of your Airpods Pro case. Keep your Airpods Pro inside the case.
- Bring the Airpods Pro case close to your iOS device.
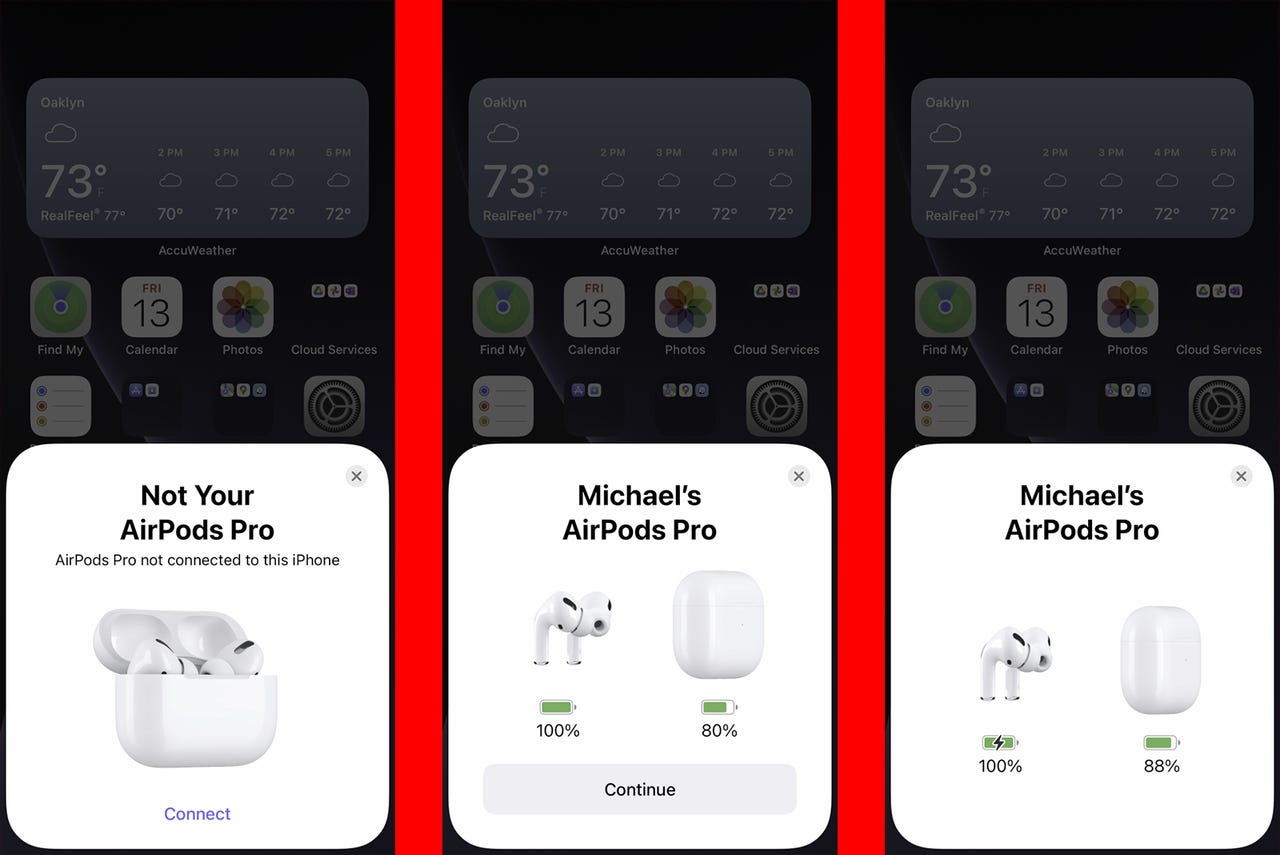
- A pop-up window should appear on your iOS device’s screen. Tap the “Connect” button to begin the pairing process.
- If the pop-up window doesn’t appear, go to the Bluetooth settings on your iOS device.
- In the Bluetooth settings, you should see your Airpods Pro listed. Tap on it to initiate the pairing.
- Your iOS device will now connect to your Airpods Pro. You should see a confirmation message once the pairing is successful.
Congratulations! You have successfully connected your Airpods Pro to your iOS device. Enjoy the amazing sound quality and convenience of wireless audio. Remember, you can also use your Airpods Pro with other supported Apple devices that are signed in to the same iCloud account.
Pairing Airpods Pro With Android Devices
Pairing your Airpods Pro with an Android device is a straightforward process that allows you to enjoy the premium sound quality and convenience these wireless earbuds offer. Follow the simple steps below to connect your Airpods Pro to your Android device effortlessly.
Enabling Bluetooth On Android
To begin the pairing process, navigate to the settings on your Android device and locate the Bluetooth option. Turn on Bluetooth to make your device discoverable to other devices, including your Airpods Pro.
Connecting Airpods Pro To Android Device
Next, open the charging case of your Airpods Pro and place them close to your Android device. Wait for the Airpods Pro to appear on the list of available Bluetooth devices on your Android device. Tap on the Airpods Pro to establish the connection.
Credit: support.apple.com
Using Airpods Pro With Mac Or Windows
Pairing your Airpods Pro with your Mac or Windows PC is a breeze, allowing you to enjoy wireless listening and seamless connectivity. In this section, we will guide you through the process of connecting your Airpods Pro to both Mac and Windows devices.
Connecting With Mac
If you own a Mac, fear not, as pairing your Airpods Pro is a straightforward process. Follow these simple steps to enjoy your favorite music or take calls effortlessly:
- Make sure your Airpods Pro and Mac are in close proximity.
- On your Mac, go to the menu bar and click on the Bluetooth icon.
- In the dropdown menu, you will find your Airpods Pro listed under the “Devices” section. Click on it to initiate the pairing process.
- Once connected, you will see a message confirming the successful pairing of your Airpods Pro with your Mac.
- You are now ready to enjoy your Airpods Pro wirelessly with your Mac. Put them on and experience the superb sound quality and convenience they offer.
Pairing With Windows Pc
If you have a Windows PC, worry not, as Airpods Pro can also be paired with the Windows operating system. Here’s how:
- Make sure your Airpods Pro are charged and within range of your Windows PC.
- On your Windows PC, open the Start menu and navigate to the Settings app.
- Within Settings, select the “Devices” option.
- Click on the “Bluetooth & other devices” tab.
- Toggle the Bluetooth switch to “On” if it is not already enabled.
- Click on the “Add Bluetooth or other device” option.
- A window will appear asking you to choose the device type. Select “Bluetooth”.
- Your Windows PC will now start searching for available Bluetooth devices. Select your Airpods Pro from the list.
- Once connected, you will receive a notification confirming the successful pairing of your Airpods Pro to your Windows PC.
- Now, put on your Airpods Pro and relish the wireless experience on your Windows PC.
Maximizing Airpods Pro Features
Customizing Controls
Pairing your Airpods Pro with your device opens up a world of customization options. By accessing the Bluetooth settings on your device, you can customize the touch controls for your Airpods Pro to suit your preferences. Whether you want to play, pause, skip tracks, or activate Siri with a simple touch, customizing the settings empowers you to efficiently use your Airpods Pro without reaching for your device.
Utilizing Active Noise Cancellation
The Active Noise Cancellation feature on your Airpods Pro allows you to block out external noise and immerse yourself in crisp, high-quality audio. With a simple tap on your Airpods Pro, you can switch between Active Noise Cancellation and Transparency mode, providing you with the flexibility to engage with your surroundings when needed. Whether you’re in a bustling city or a quiet office, utilizing this feature ensures that you can enjoy your audio experience without distractions.
Troubleshooting Airpods Pro Connectivity
When using your Airpods Pro, you may encounter connectivity issues that can dampen your listening experience. As with any technology, there are various factors that can contribute to these problems. Below, we’ll discuss some common issues and how to troubleshoot them effectively.
Resolving Connection Issues
If you find that your Airpods Pro are not connecting to your device, start by ensuring that they are charged and in close proximity to the paired device. Check for any potential interference from other devices and make sure that your Airpods Pro are selected as the audio output source on your device. If the problem persists, consider resetting your Airpods Pro by placing them in the charging case and holding the setup button until the status light flashes amber and then white.
Dealing With Software Updates
Regularly checking for and installing software updates can help resolve connectivity issues with your Airpods Pro. Make sure that your paired device has the latest operating system and that your Airpods Pro firmware is up to date. You can check for updates by going to the Settings app on your device, selecting General, and then Software Update. Additionally, ensure that your Airpods Pro are properly paired with your device by navigating to the Bluetooth settings and selecting your Airpods Pro as the output device.
Credit: www.zdnet.com
Frequently Asked Questions
How Do I Put My Airpods Pro In Pairing Mode?
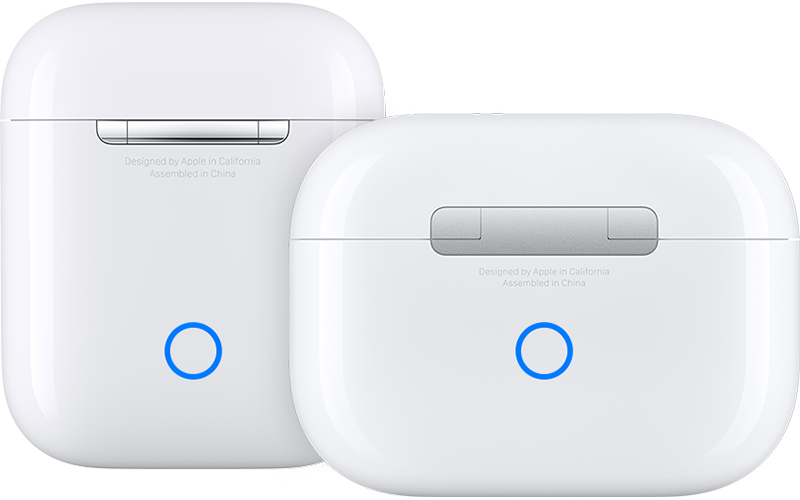
To put your AirPods Pro in pairing mode, first, make sure they are not connected to any device. Then, open the lid of the AirPods Pro case and hold the pairing button on the back until the LED light on the front starts flashing white.
Next, go to your device’s Bluetooth settings and select the AirPods Pro to pair them. Enjoy!
Why Are My Airpod Pros Not Pairing?
To troubleshoot AirPod Pro pairing issues, ensure Bluetooth is on, AirPods are charged, reset AirPods, and restart device.
How Do I Force Airpod Pros To Pair?
To force AirPod Pros to pair, put them back in the case, keep the lid open, press and hold the button on the back until the status light flashes. Then close the lid for 15 seconds, reopen and press and hold the setup button until the status light flashes white.
How Do I Resync My Airpod Pros?
To resync your AirPod Pros, make sure they’re in their case and lid is open. Press and hold the setup button until you see the status light flashes white. Then, pair them with your device. If it doesn’t work, try resetting them and connecting again.
Conclusion
Pairing AirPods Pro is easy and seamless. Follow the simple steps provided to enhance your audio experience. Enjoy the convenience and high-quality sound that AirPods Pro offer. Stay connected and immerse yourself in your favorite music and calls effortlessly. Try it out today!

Pingback: How to Clean Airpods Pro in 2024?